Category Archives: Apple

Apple Time Machine

Do you use an Apple Mac? If you do then Time Machine is a great way of backing up your files from your machine to an external drive on a frequent basis.

So some quick tips about Time Machine:

  • Dedicate at least one external hard drive to Time Machine, don’t be tempted to use it for other files as well. It reduces the capacity. If you need an external drive for other files buy another drive.
  • Leave the drive connected all the time. If you are using a Macbook (Laptop) then an external drive that connects to your network or your router (Western Digital MyCloud) is a good alternative to one hard-wired to your machine.
  • Buy a large drive, the bigger the drive the longer Time Machine can keep backups for before it starts deleting old back ups.
  • If you buy a larger drive at a later date, it is possible to transfer your previous backups to the newdrive, see this article for details. I’ve done this a few times and it’s fairly involved but follow the steps shown and you should retain all your previous backups.

Time Machine keeps:

  • Hourly backups for the past 24 hours
  • Daily backups for the past month
  • Weekly backups for all previous months

The oldest backups are deleted when your drive becomes full.

How useful is Time Machine?

  • If your Mac has a hard drive failure and you have to replace the internal drive, when you turn the machine back on having installed OSX then the machine will offer the opportunity to restore the machine from the most recent Time Machine back up.
    • This back up will restore all your data, settings, passwords, desktop files, photos, music, in summary everything.
    • Occasionally you will find you will have to put in product codes to activate software.
  • The restore process can take a few hours, I ran mine over night the couple of times I’ve had to do this.
  • You can restore individual files, say you had a file on your desktop some weeks ago. Then you can enter Time Machine and track back and find the file again by literally going back in time. You can then restore that file. If a later version exists then you can opt to replace or keep both versions of the file, which is useful with changing files.
  • You can split your Time Machine back ups across more than one drive, Time Machine then just uses each drive in turn. This helps to increase the overall security of your back ups in the case of an external drive failure.
  • Running Time Machine will not slow down your machine, it all happens comfortably in the background and you will hardly notice it happening.

Problems with Time Machine?

Occasionally you might get an error message that says that Time Machine hasn’t been able to verify the latest back up. There seems to be very little you can do about this about from starting the process off again. Time Machine will start a new back up and delete the old one. This is a good reason for using more than one external drive for Time Machine back ups.

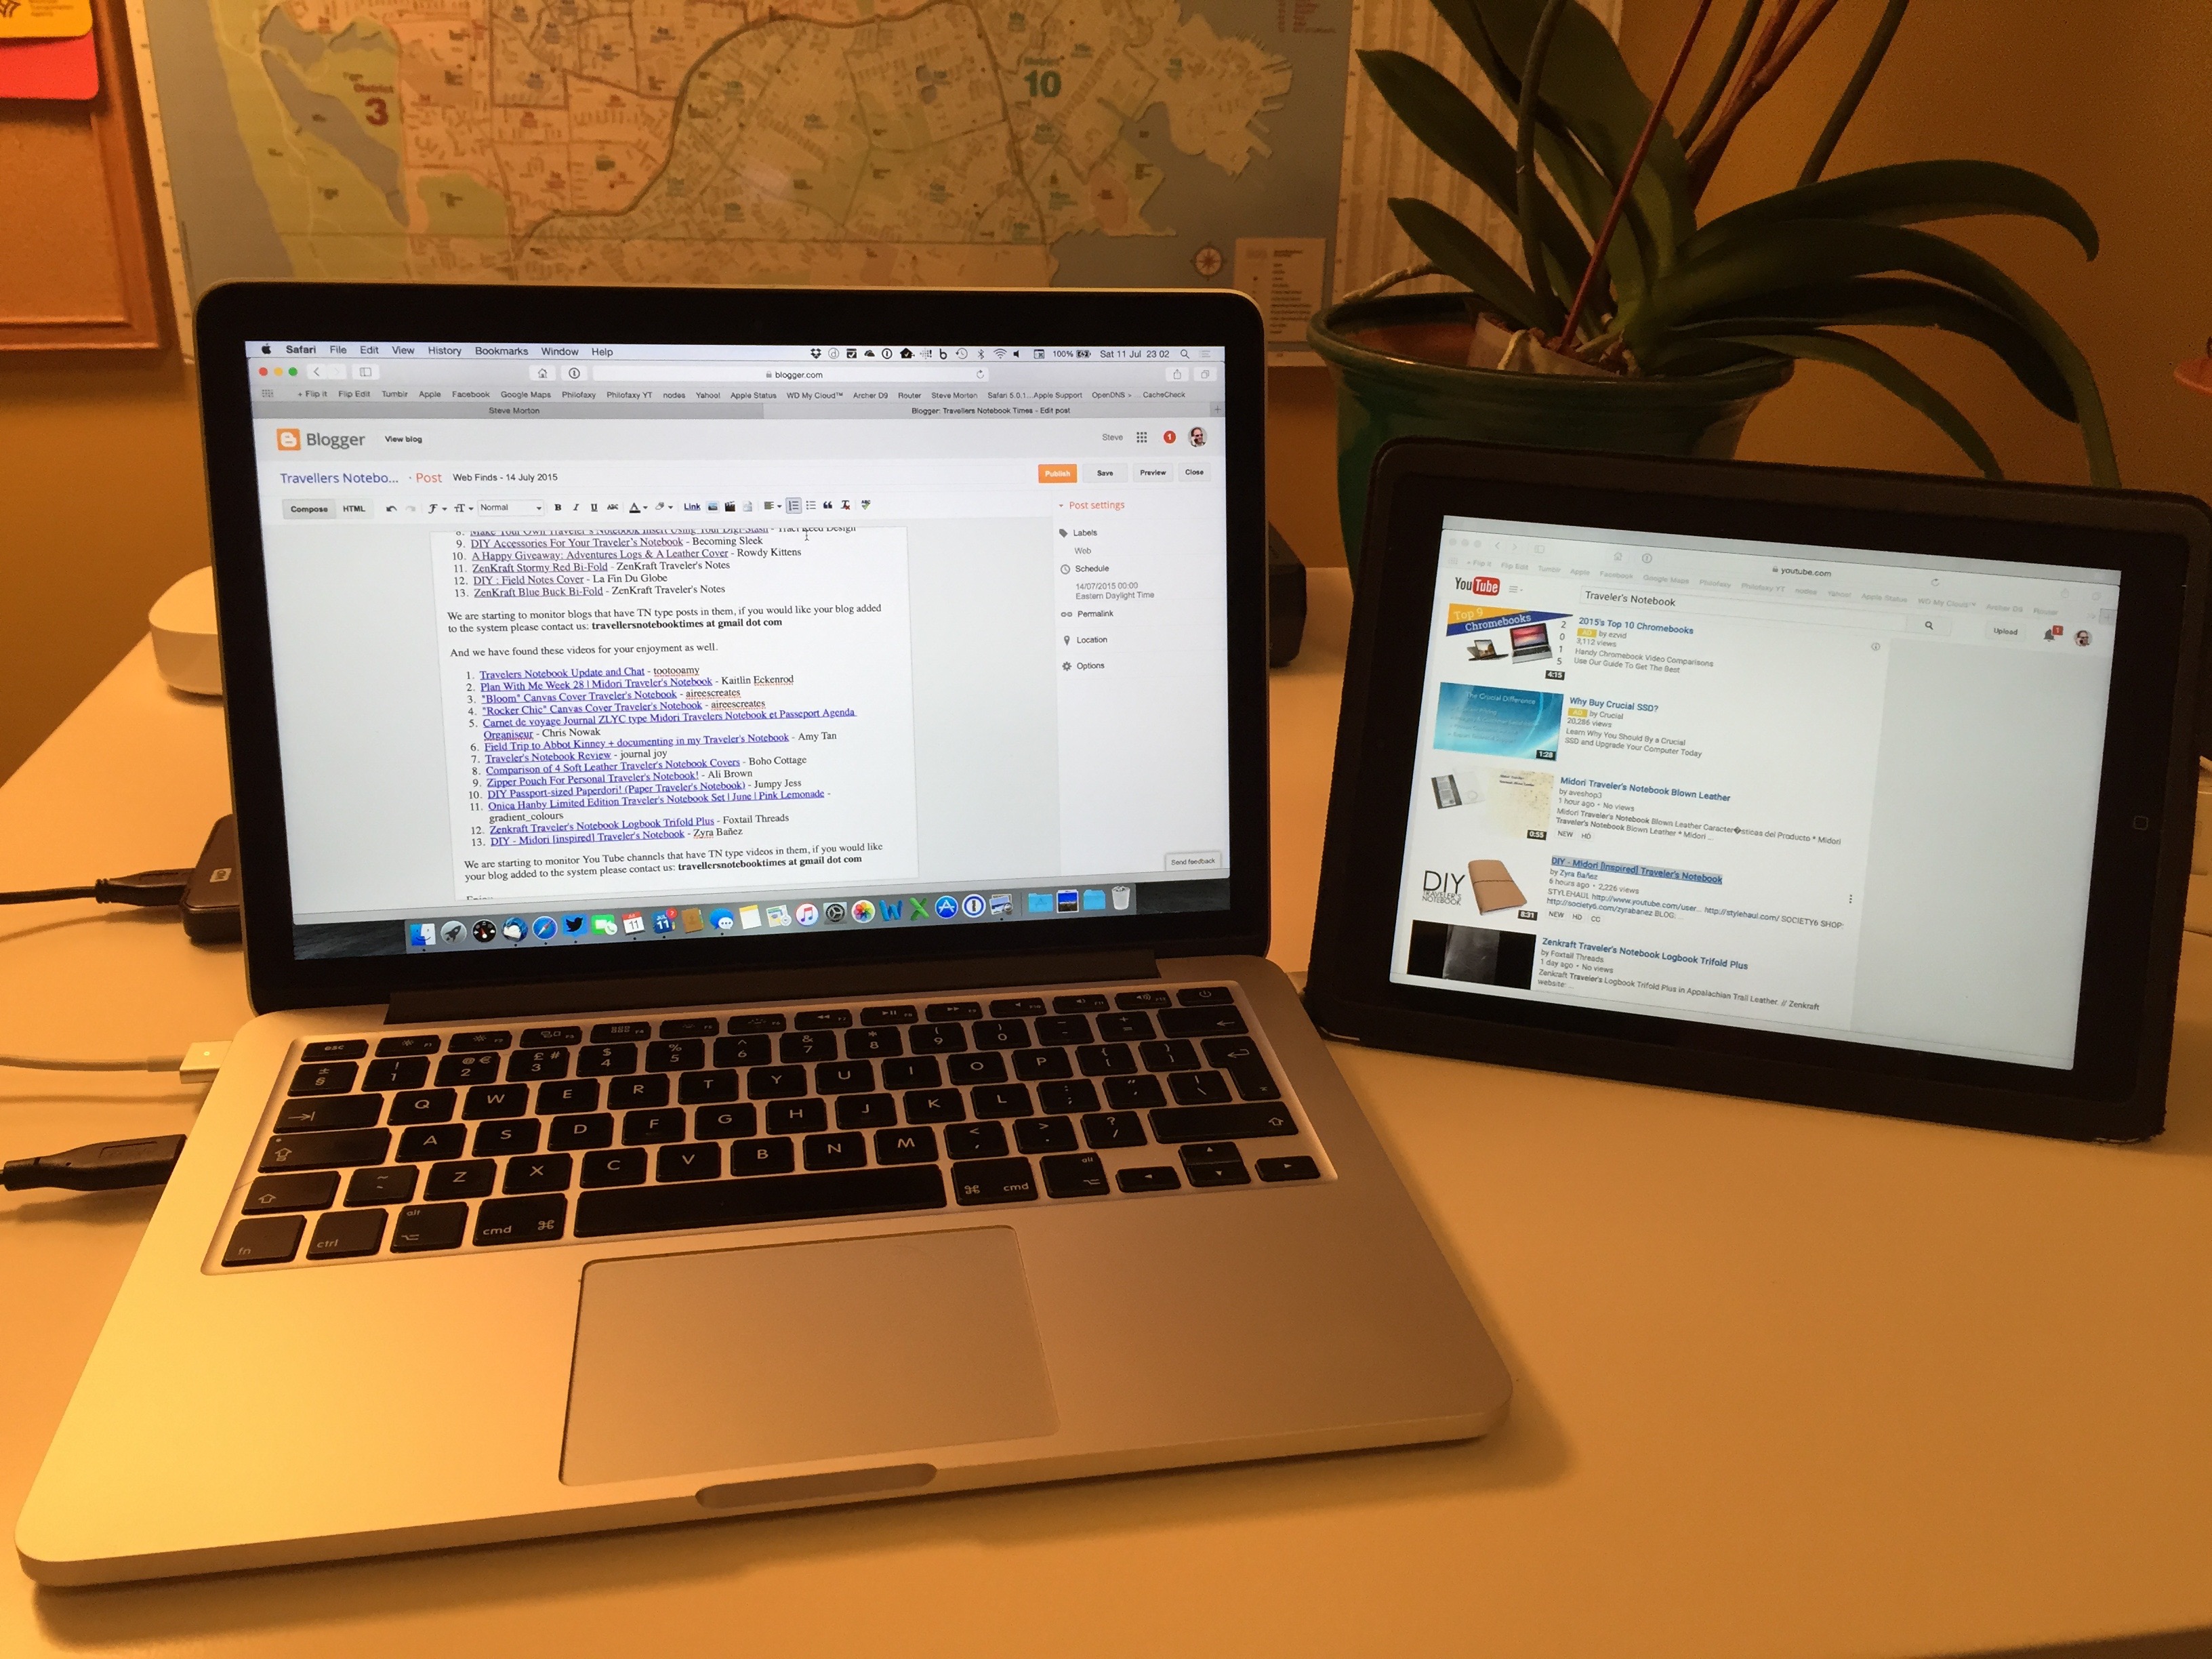
In my case I use a locally connected USB external drive as one Time Machine drive and a network connected MyCloud drive as the other one.

On rebooting the external drive will not always be picked up. Let me explain.

The external Time Machine drive icon is normally shown on your desktop on your Mac and it will look like this:

A normal non-Time Machine drive will look like this:


On start up or rebooting if your Time Machine drive looks likes the ‘Yellow/Orange’ drive above it might be functioning ok as your Time Machine back up drive, but just to be certain there are a few simple things you can try to ensure it turns to ‘Green’

  1. Starting with the simple test. Hover your cursor over the Finder icon on the dock (normally at the left) press the ‘Alt’ key on the keyboard then ‘Right Click’ the mouse and then left click on ‘Relaunch’ Finder will relaunch and then check to see if your drive icon has changed to ‘Green’

If it hasn’t then go to the next step.

2. Go in to System Preferences, Time Machine. Click on Add or Remove Back Up Disk and then click on your external drive again, then ‘Use Disk’

You can then close System Preferences. If the Time Machine Icon hasn’t turned ‘Green’ try relaunching Finder again using the Alt, Right Click, Relaunch routine again. It should then turn ‘Green’ and all should be working as it should.

As reboots of Macs is normally fairly infrequent, you will not be doing this that often.

Every so often you can check in Time Machine System Preferences, this is will show the latest and oldest back up dates, how much drive space you have.

If you disconnect your Time Machine drive from your computer, Time Machine will politely remind you that you haven’t backed up for n weeks with an on-screen message after about 10 days. Hence why it is always best to keep the drive connected when ever possible.

Finally.

This has been a lightning tour of what Time Machine can offer, but it really is a useful feature built-in to OSX that you should be using. External drives are not expensive these days. So get one and get using Time Machine… And remove the drive to a safe place if you are going away for any length of time.

Turn your iPad in to a second display for your Mac or Windows machine

I’m used to using my large 27 inch iMac at home, I rarely use applications full screen though, you start to suffer from moving your head from left to right, like you are watching a tennis match on Centre Court!! So I tend to divide the screen between two apps at a time. Mail and Skype, or Safari and Twitter etc.

Quite often I will drag a tab out of Safari and sit it next to the other Safari window, so I have the two side by side. I can see both that way. I can place the mouse cursor in one Safari window, whilst the flashing on-screen cursor is in the other and happily copy links from one window with the mouse and paste them in the other with a key stroke without having to change the active window, it just works brilliantly for that simple function.

I’m writing this post whilst away from home on my Macbook Pro, the same resolution screen as I have at home, but smaller screen size. Resizing windows to fit two side by side isn’t so practical on a 13 inch screen, but with a simple app I have gained a second display using my iPad.

My iPad isn’t particularly new, it’s the 3rd generation one, but with the Duet App loaded it functions as a second display when connected via the USB cable to the Macbook Pro.

IMG_1934


The app lets you configure the screen resolution to use on the iPad separately to your main display, which side of your main display the iPad is stood on and a few other features.

Even on my old iPad there is no detectable lag or delay in the cursor movement, the second display acts just like it is the main display. If you press the home key on the iPad to come out of the app, any windows or apps you had placed on the iPad screen are moved back on to the main screen without having to close them or reopen them.

It apparently works with Windows machines as well, although I’ve not been able to test it with one as I don’t have any Windows machines these days.

So if you have a spare iPad you aren’t sure what to do with it… turn it in to a second display for your laptop or even your Mac or PC at home.

How to kill your home Internet Connection with Apple iCloud Photo.

I love most things Apple, I take a bit of convincing some times. However, I recently saw the benefit of iCloud Photos, the ability to have all your photos in the cloud and on smaller capacity devices it will only download on demand the photos you want to view etc.

Upload all your photos from a weekend trip whilst you are away and they will be on your main machine when you get back etc. It holds a lot of advantages….

Sadly there is a downside to this.. I’ve been using digital photography for over 10 years, my photo library is over 25,000 photos about 90Gb in total. I didn’t think this would be a big problem. We use CrashPlan on all our machines, my iMac has uploaded over 400 Gb, yes it took several weeks, but it got there in the end.

iCloud Photo though isn’t quite as clever as other Cloud storage applications, it just grabs all the bandwidth available and tries to use it all ignoring the fact you might want to look at a website or down an email or two. The only control you have over it is to pause it. Even closing the application doesn’t stop it unless you have paused it. So you end up pausing it during the day and then having to remembering to resume the upload last thing in the day.

PhotosPerferences copy

Crashplan

By comparison CrashPlan as you can see has a much smarter approach to controlling how much bandwidth it uses when you are using the machine or you are away from the machine.

Crashplan copy


I’m not the only one complaining about this, I’ve come across several other blog posts on the topic in the past few weeks. Short of taking my iMac to somewhere that has super high speed fibre internet to upload all the remaining photos, I shall just have to continue to upload a couple of hundred photos each day, pathetic really.


[2017 Update: Apple seem to have tamed iCloud uploads so that they are a bit more slow connection friendly. They no longer kill your connection. It backs off until the connection is available.]

Mac OS X – Preview

Preview on Mac OS X is a very underrated application. It has been included on every version of Mac OS X I’ve ever used, which in my case goes back to ‘Tiger’ version 10.4

Now at first sight it might not seem to be able to do a lot. You use it for viewing photo and graphic files, it also handles PDF files too, no need to install Adobe Reader… (thank goodness!!) It will also let you ‘preview’ Word, Excel and a number of other document formats.

OK so it does those… but did you also know you can do a lot more too…

For images you can:

  • Rotate images in 90 degree increments
  • Flip images horizontally or vertically (Mirrored ones)
  • Adjust the size of an image (so you can reduce the size of image before emailing it or uploading it to say Facebook)
  • Adjust the colour and other parameters of an image.
  • Crop images
  • You can annotate images with squares, ovals, lines, lines with arrows etc. Useful for adding labels and notes
  • Add Text to images in different fonts, styles, colours etc.
  • You can take screen shots of images/documents which is a quick and dirty way of creating images suitable for a website when you don’t want them to be huge in resolution!
  • You can take a PDF and digitally sign the document and save it with your signature. You do your signature on a piece of paper then hold it up to the camera.

I use Preview many times a day, it is a built in application that I couldn’t do without.

Apple iPod

The iPod has been a great invention. It was the first Apple product I/we owned. It was Philip my son who first made me aware of the iPod, he showed me the advert for the 1st generation iPod, it almost seemed to be too good to be true. A small device that you could slip in your pocket that could hold hundreds of CDs. I sat trying to work out how much storage space I would need for my full CD collection, which at the time was about 200 CD’s.

Before the iPod came into our lives I had been using a CD Walkman to play my music CDs on journeys and around the house. But it was limited in battery life and by how many CDs you could carry.

Sony CD Walkman

Sony Discman

Before the CD I had a Sony Walkman, this was back in about 1983, at the time I lived and worked in Cyprus and I used to record audio tapes instead of writing letters and posted them back and forth in the mail. It sounds old fashioned but it was great getting tapes from friends and loved ones. I forget the exact model number, but I bought a Sony recoding Walkman which had a built in radio and a single speaker on the back and a built in microphone too, so it was quite a versatile device.

So anyway the Apple iPod, Philip was still at school when the first one came out, he was originally going to buy the 5Gb model, but me being me I offered to give him the difference in money to buy the 10Gb model.

iTunes was also a big improvement over Windows media player at the time. I was using that on my PC before I got my own iPod. I discovered Smart Play Lists and that has been quite a bonus for me, they present music to me that I’ve not listened too for a while and that means I listen to a lot more tracks rather than buy new ones all the time.

iPod

My own first iPod was a third generation 20 Gb model, not exactly a classic but it got me started. There were a few issues with this model, mainly battery life and also the battery charging indication, because it doesn’t control the charging very well, the battery would get overcharged and this in turn would limit the life of the battery. I have changed the battery on mine at least twice, a strong set of finger nails and good eye sight is all you need to get the back off to change it!

Eventually along came the iPod Touch in Philip bought a 32Gb 1st gen model and sold his original iPod.

I also upgraded my iPod to a newer model with a colour screen and a 60 Gb drive. Compared to my previous one it was a massive improvement on the user interface and battery life too. I still use this one in the car, it holds all of my music collection and I just synchronise it every few months.

I also bought an iPod touch in 2010 although I have used it for a lot of other things as well as listening to music. Alison now uses it for listening to BBC Radio 4 in the kitchen!

Alison joined the club with an iPod Nano, she listens to dozens of podcasts rather than music. I’ve recently started using this as it is so compact and light in your pockets.

Her mini disc player/recorder still works, but interfacing it to anything is a pain

Philip replaced the iPod Touch with an iPhone 4 which he has recently passed on to me

iPhone 4 with iOS7

iPhone 4 with iOS7

Alison now has my iPod Touch, it has replaced the 1st generation iPod Touch which still works but it is a bit limited in what you can do with it now, which reminds me of my Psion organisers really!

With wireless syncing of devices to our iMacs and iCloud we no longer need to connect the latest devices to our computers every few days, just a charger by the side of the bed or in the kitchen is fine.

Over 30 years of portable music devices since the Sony Walkman through to my iPhone, the technology has got better, but one thing hasn’t changed… the music I listen to. Steely Dan and a the rest of my music collection.

iPad my first thoughts and impressions

I have had an iPod Touch for over a year now and it is a great device, but there are times when I wished the screen was bigger or the camera was better.

When they announced the new iPad (3rd generation) last week it didn’t take me very long to decide to order one. I had to order it via the French Apple site which wasn’t too much off a problem, we got there eventually!  And on Friday the UPS man arrived after calling us earlier to confirm his ETA with us, what great service!

So a few pictures…

I bought the 32Gb WiFi only model in black, running a 4G model here in France like running an iPhone here would be expensive, and I don’t ‘need’ the connectivity everywhere I go. I have discovered several free Wifi hotspots in places we regularly visit. For UK visits I have a T Mobile Wireless Pointer 3G/WiFi modem which works just fine. Your ‘needs’ might be different to my own…

Continue reading

Steve Jobs 1955-2011

It was with some sadness that I checked my iPod Touch early this morning to see the breaking news about the death of Steve Jobs. I had never met the man himself, but his attention to detail that people have been talking about today in various tributes certainly came across.

If you have any iOS device, just take a look at the screen detail under a magnifier and you will see what I mean, the detail and the colour gradients are very delicately done, yet most people will not notice them at normal viewing distances.

The design of the packaging of Apple products goes well beyond other items I’ve ever bought in the last 10 years, they are an art form in themselves, you don’t want to dispose of the cardboard box because it’s so nicely designed.

Continue reading

Apple TV2

I recently got this little gadget to save me the bother of carrying my iMac upstairs to watch rented films from iTunes, given that the iMac weighs in at about 15 kgs, it’s not a task I like doing that often!

So what is the Apple TV, well it’s not a TV in it’s own right, it’s a small box which plugs in to your TV via an HDMI interface. Apple hide the details about the Apple TV on their iPod pages.

It comes with a mains lead, Apple remote and a small instruction book. There is no HDMI lead included in the package so you need to consider buying one of those as well. I bought an ‘Amazon Basics’ one which seems to do the job ok and seems well made.

The Apple TV has an Ethernet port as well as Wifi (802.11n,g,b) so it can easily hook in to your home network internet connection. As well as HDMI there is a digital audio connection available as well.

The Apple TV can be used for streaming content from the internet, or from your own PC or Mac. By content I include Video, Audio, Photos.

Video

Depending on your location you will have different content providers available to you, for instance in the US it’s possible to watch Netflix movies. You can also watch You Tube videos as well. We have been ‘renting’ films from the iTunes store and watching them on the iMac or now on the Apple TV.

Photos

In terms of photos you can browse your own collections or look through Flickr on line. It turns our 32″ LCD TV in to a great digital photo frame! For the price most conventional photo frames I have come across only offer quite small screens and limited capacity and then you have to transfer the photos to the frame via a USB lead. With the Apple TV you just browse your existing photo libraries and you can view them in quite high quality on a large screen.

You can use your photos as a ‘screen saver’ on the Apple TV as well. Or as a slideshow with music. The box offers lots of different options.

Audio

You can browse and play your audio collection on iTunes on your PC or Mac via the menu system on the TV screen. I have our TV hooked up to a HiFi amplifier and speakers, so I now longer have to hook my iPod in to this set up to play music.

Remote Control

Controlling the box can be done using the supplied remote to navigate your way through a simple menu structure. Or if you have a recent iPod Touch, iPhone or iPad download the Apple Remote app (it’s free!) and you can control the Apple TV from that. You can also use ‘Airplay‘ to play music or video from your ipod/phone/pad device via the Apple TV. It doesn’t do this in real time, so if you say play this video, it streams it to the Apple TV and then plays it but with no pause, so your ipod/phone/pad device can turn itself off whilst you watch or listen.

Set up

Setting up the Apple TV is fairly straight forward. Connect your HDMI cable to a spare HDMI socket on the TV. Plug in the mains lead. Turn on your TV and select the HDMI input. If you are using Wifi (and I suspect most people will be) you need to select your own Wifi access point and configure the Apple TV to connect to that access point/router for this you will need to know the password for your access point. The box will then most probably check for an update of it’s own software and download it.

Then on your PC or Mac you need to enable Home Sharing and Photo Sharing in iTunes.

Additionally you might need your sign in user names and passwords for YouTube and Flickr, but once you have done these the Apple TV will remember the details and you will be able to look at your list of subscriptions and saved searches etc and you will be able to sit back in the comfort of your living room and watch plenty of things.

I’ve also found it great for watching Video podcasts, set up iTunes to subscribe to the higher resolution versions if one is available, some are in HD in fact and you can really enjoy a 30 minute or one hour show on a big screen.

Highly recommended, lots of features in a small box that is easy to use.


iPod Touch Apps – Ones I’m using – Part 2

The following are some of my less used apps on my iPod Touch, see the rest in Part 1 of this post

  • Google Mobile App – Free from Google it features all the usual Google apps such as Gmail, Calendar, Search engine, Buzz etc.
  • iBooks – Apples own Kindle app.
  • Kindle – lets you read your Kindle downloads on your iPod touch useful if you don’t have a Kindle… yet! I haven’t really used this one much yet, but text is very clear on the iPod, although naturally the screen is some what smaller than a Kindle.
  • Panorama – a simple app that lets you take panorama pictures by joining together multiple pictures taken with the built in camera, and it is Free
  • Flickr – Access your Flickr account to share and view pictures
  • Remote – This app lets me control iTunes on my iMac from anywhere in the house, not worked out why I would want to do that yet!!
  • Skype – Like the desktop app it lets you have voice calls and now video calls with other Skype users on PC’s, Macs, Linux platforms.
  • TV Guide – A free UK TV programme guide, a miniature Radio Times if you like.. and it’s free
  • Wikipedia – a great free app for looking up the answers to quiz questions, or the details of an actor whilst you are watching TV!
  • WordPress – Useful for updating WordPress Blogs like this one, you can edit posts and create new ones.
  • Radio Player – a great free app for streaming UK radio stations to your iPod
  • Fon Maps – This application is supposed to indicate the location of FON WiFi hotspots, but it doesn’t appear to work – Failure
  • Heart Pal – I use this free app to track my blood pressure, it shows the highs and lows and an average figure too. I have a BP monitor that I take the readings with and then feed these in to the app.

Don’t hesitate to ask me for more information if you need it on any of the apps listed.

iPod Touch Apps – Ones I’m using – Part 1

I got my iPod Touch back in late November last year. It has proved to be a very useful bit of kit. I don’t really use all of it’s functions, but I’ve been discovering new things most days/weeks.

There is a huge variety of apps available for the iPod Touch, some of them work ok, some not so ok because they are really intended for the iPhone which has a slightly different feature set.

So here’s what I’m using, most are free unless I indicate otherwise.

  • BBC News – Essential for keeping up to date with World and UK news and it’s free
  • Camera + – A much improved camera app compared to the standard one, this one lets you do some limited editing and adjustments to the pictures before you save them, share them by email, Twitter or Facebook. Sadly the resolution of the iPod Touch camera is a little limited, I don’t use it often compared to my small compact.  And for £0.59 this is a must have app.
  • Dropbox – I’ve been a Dropbox user now for well over a year, can’t be without it so it makes sense to have it on my Touch as well. It’s a great way to always have your files, photos etc available on all your devices and PC’s
  • Facetime – A great video conferencing tool, works great, better than Skype in most respects. It’s simple to use and great on the Touch because I can go walking around the house with it and show family and friends what is going on here. Free to download and free to use.
  • Facebook – Easy to use, although I would like to see them include some extra features in to this, such as managing friends.
  • Road Trip – I use this to record how much fuel we are using in the car and for our oil fired boiler!! Lots of apps available, after a lot of false starts I discovered the free Lite version of this which can cope with my requirements of entering things in litres, paying in Euros and still getting a Miles Per Gallon figure. Having satisfied myself that this app could handle my slightly unusual requirements I bought the paid version which can handle more vehicles including the boiler!! Which is just a bonus really.
  • Target Weight – Tracks my feeble attempts to loose weight, nice and simple to use, basic graphics and stats but it is free and works quite well.
  • Tumblr – I’ve only just started my Tumblr blog, but the app on the Touch makes it very easy to add posts on the move and adding pictures and quotes etc.
  • Twitter – Just the standard Twitter app, it works for me.
  • Week Cal – The standard calendar in iOS only has Day view or Month View, or a list view. Why they missed out the most obvious view… Week View I don’t know. This one is a paid for app, but it seems to do the job ok, although I still use my Filofax for everything calendar related!!!
  • Battery Master Free – a simple battery battery level indicator, the iPhone 4 has a simple indicator in the status bar showing the percentage, something that hasn’t been shared with the iPod Touch yet.

More in Part 2 of this article.