We all carry them every day, almost every waking hour of our day we have an iPhone or an Android phone of some sort in our pockets or our bags.
Ready to hand for that notification or to take a quick photo. If you have a mobile phone from say the last 5 years or less then the camera built in to it is very good?
I was of this opinion too. I have taken hundreds of photos with my iPhone and they look just great. That is in most situations.
However, how do they compare to the output of a DSLR. OK in this test I’m using a Nikon D300 not your latest all singing all dancing mirrorless $5000 (including taxes!) camera. But I thought you would be interested to see the comparison.
The scene is an unrestored chateau here in France. The images were taken at the same time on the same day. The cloud formation confirms that… clouds are like fingerprints!
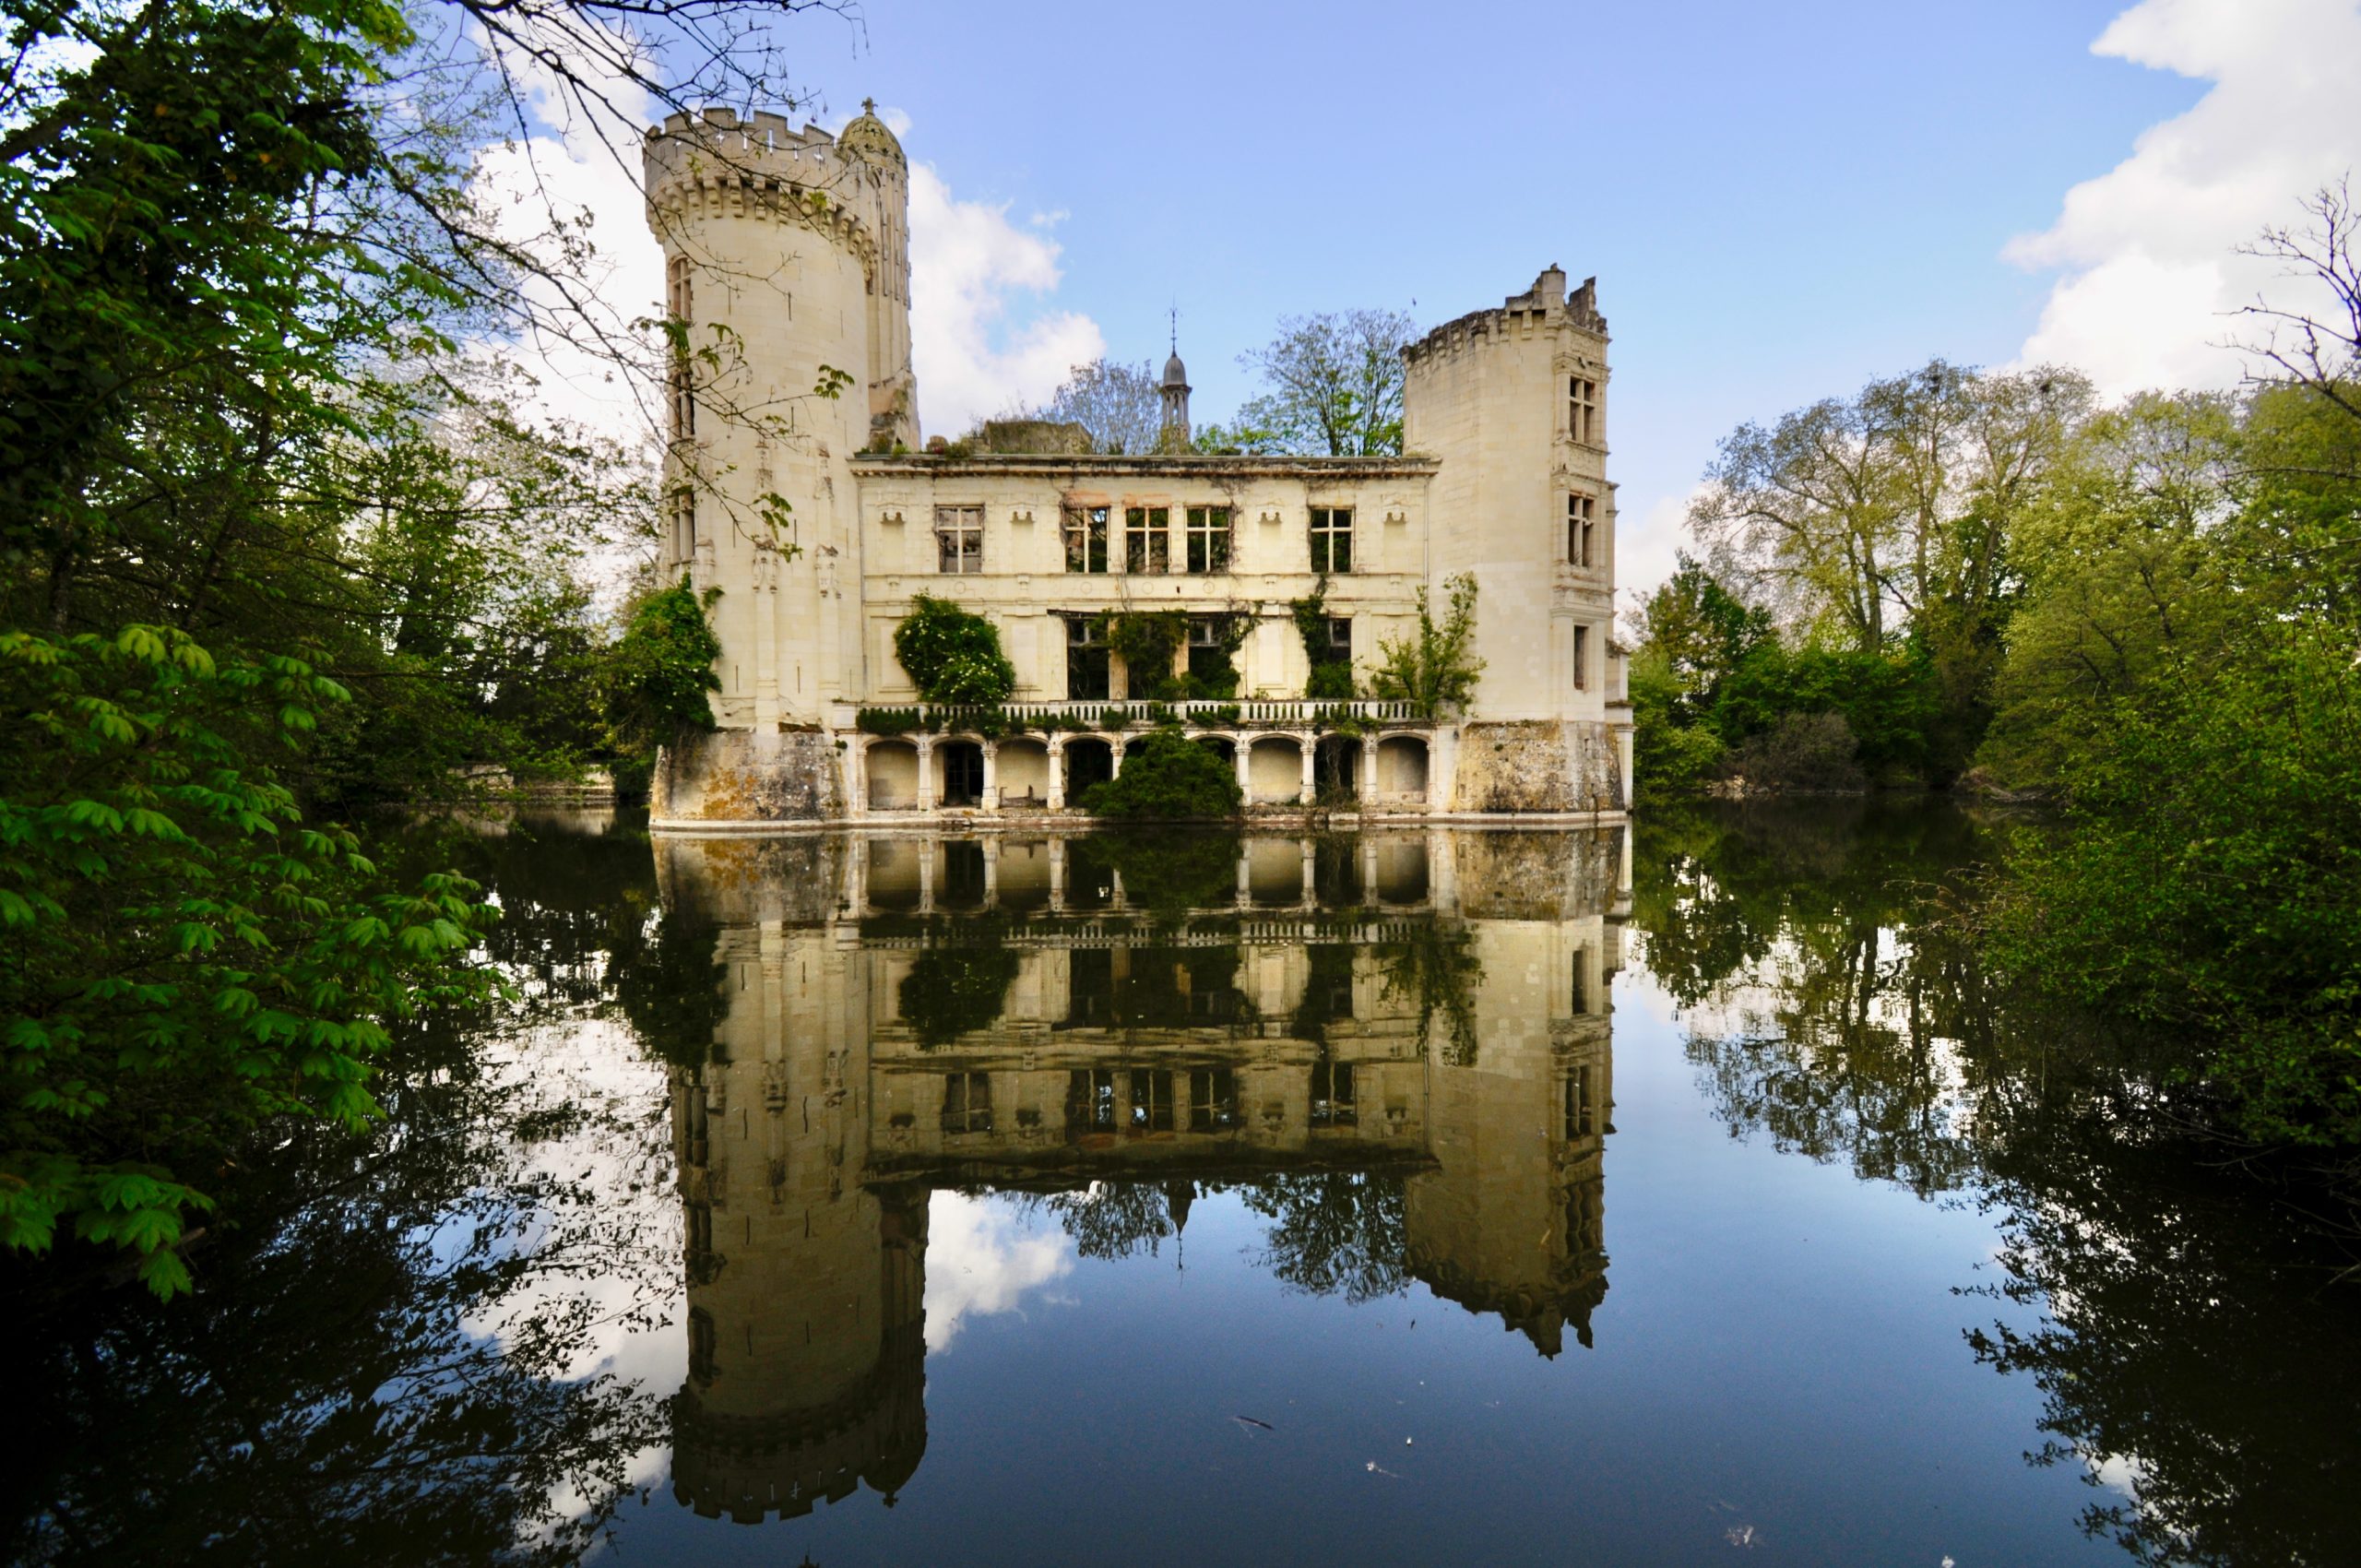
First image is the Nikon D300 unedited:

As you will see the horizontals aren’t quite horizontal, typical of a lot of my images! And very little detail in the shadows.
Now the same scene taken with an iPhone 15 Pro:
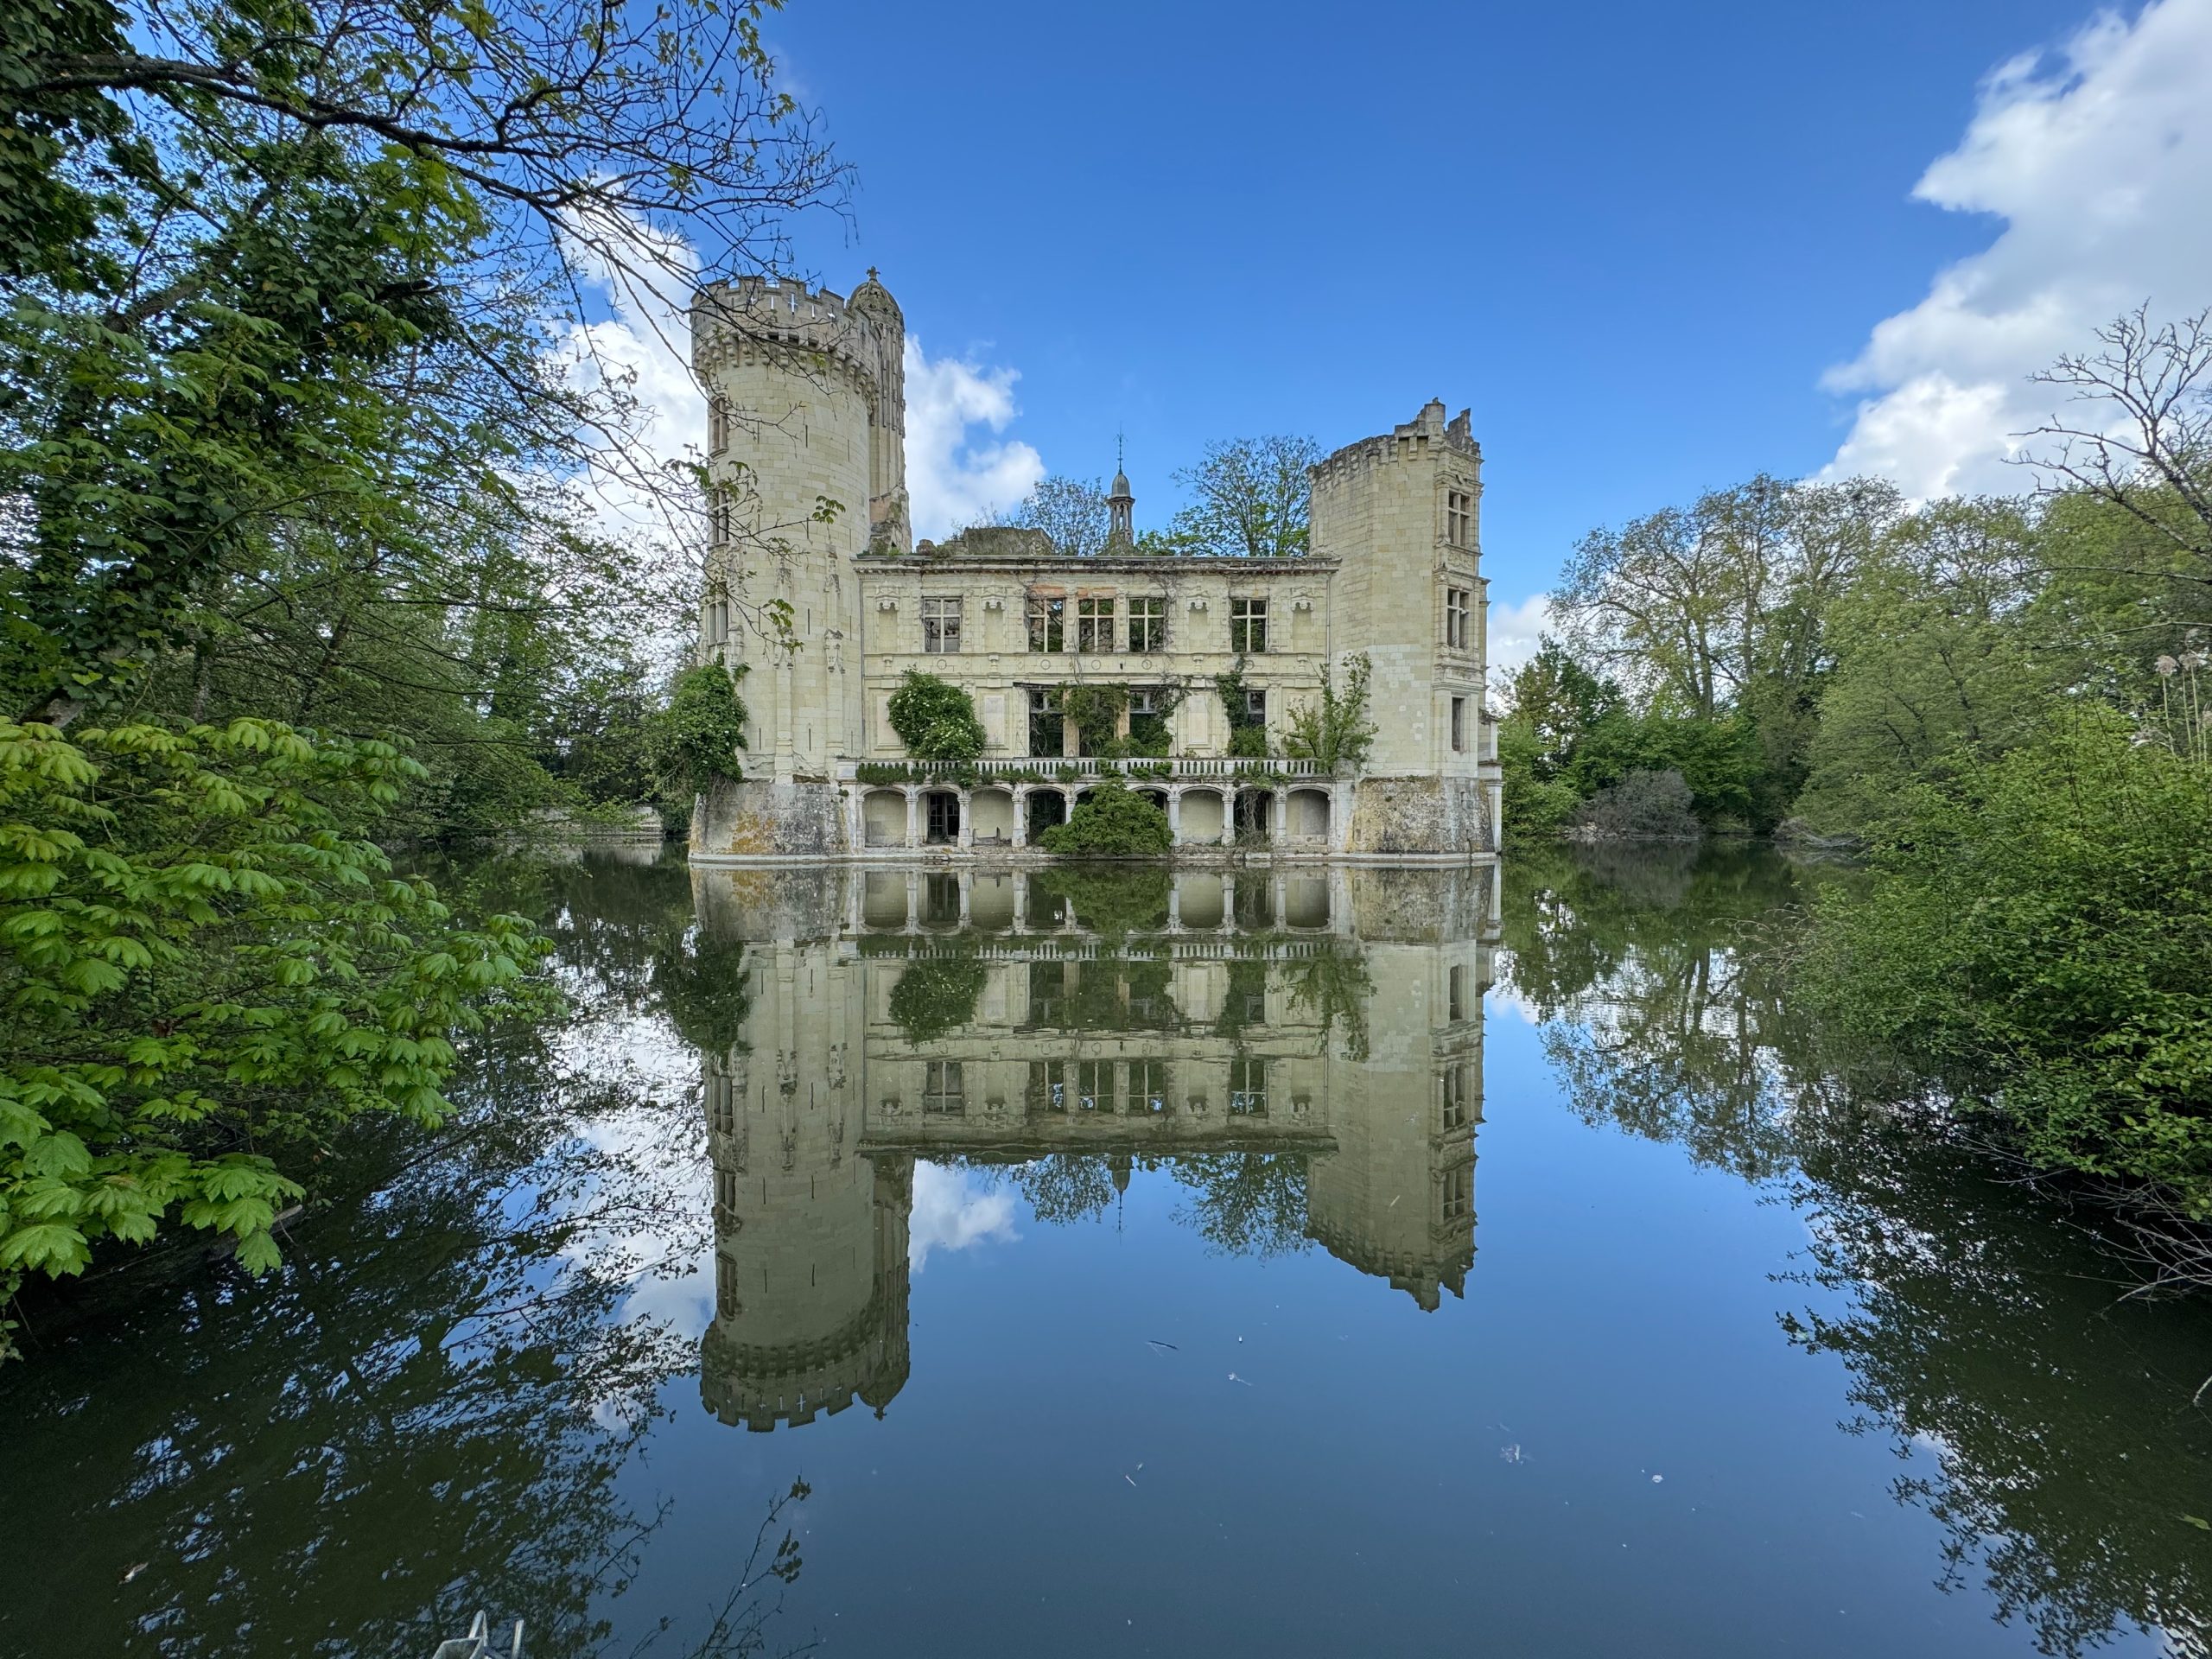
Notice how it has boosted up the shadow detail and the whole image looks much brighter, may be too bright.
I then did a small amount of editing in Apple Photos to the Nikon image and came up with this:
I’m no editing expert, I don’t pay my monthly/annual Adobe Tax for Lightroom or Photoshop, I only use Apple Photos.
The edited photo above to my eyes is a reasonable compromise as to what the scene looked like on the day. I’m still not sure it’s truly vertical/horizontal, but nothing in my world ever is even when checked with a spirit level!
I could have also edited the iPhone image, but for this ‘test’ I’ve left it unedited. I suspect most of the images we see on social media don’t get edited, may be cropped but not a major dive in to tweak everything possible!
Have you ever done a similar comparison?