Tag Archives: Photography

Using what you already have….

We seem to go through life hankering for the latest thing, the newest phone, a better car or what ever your interests might be.

As a keen amateur photographer the trend in camera gear seems to be to bring out new ‘better’ cameras every few years. Fine if you have the disposable income to replace your gear that frequently.

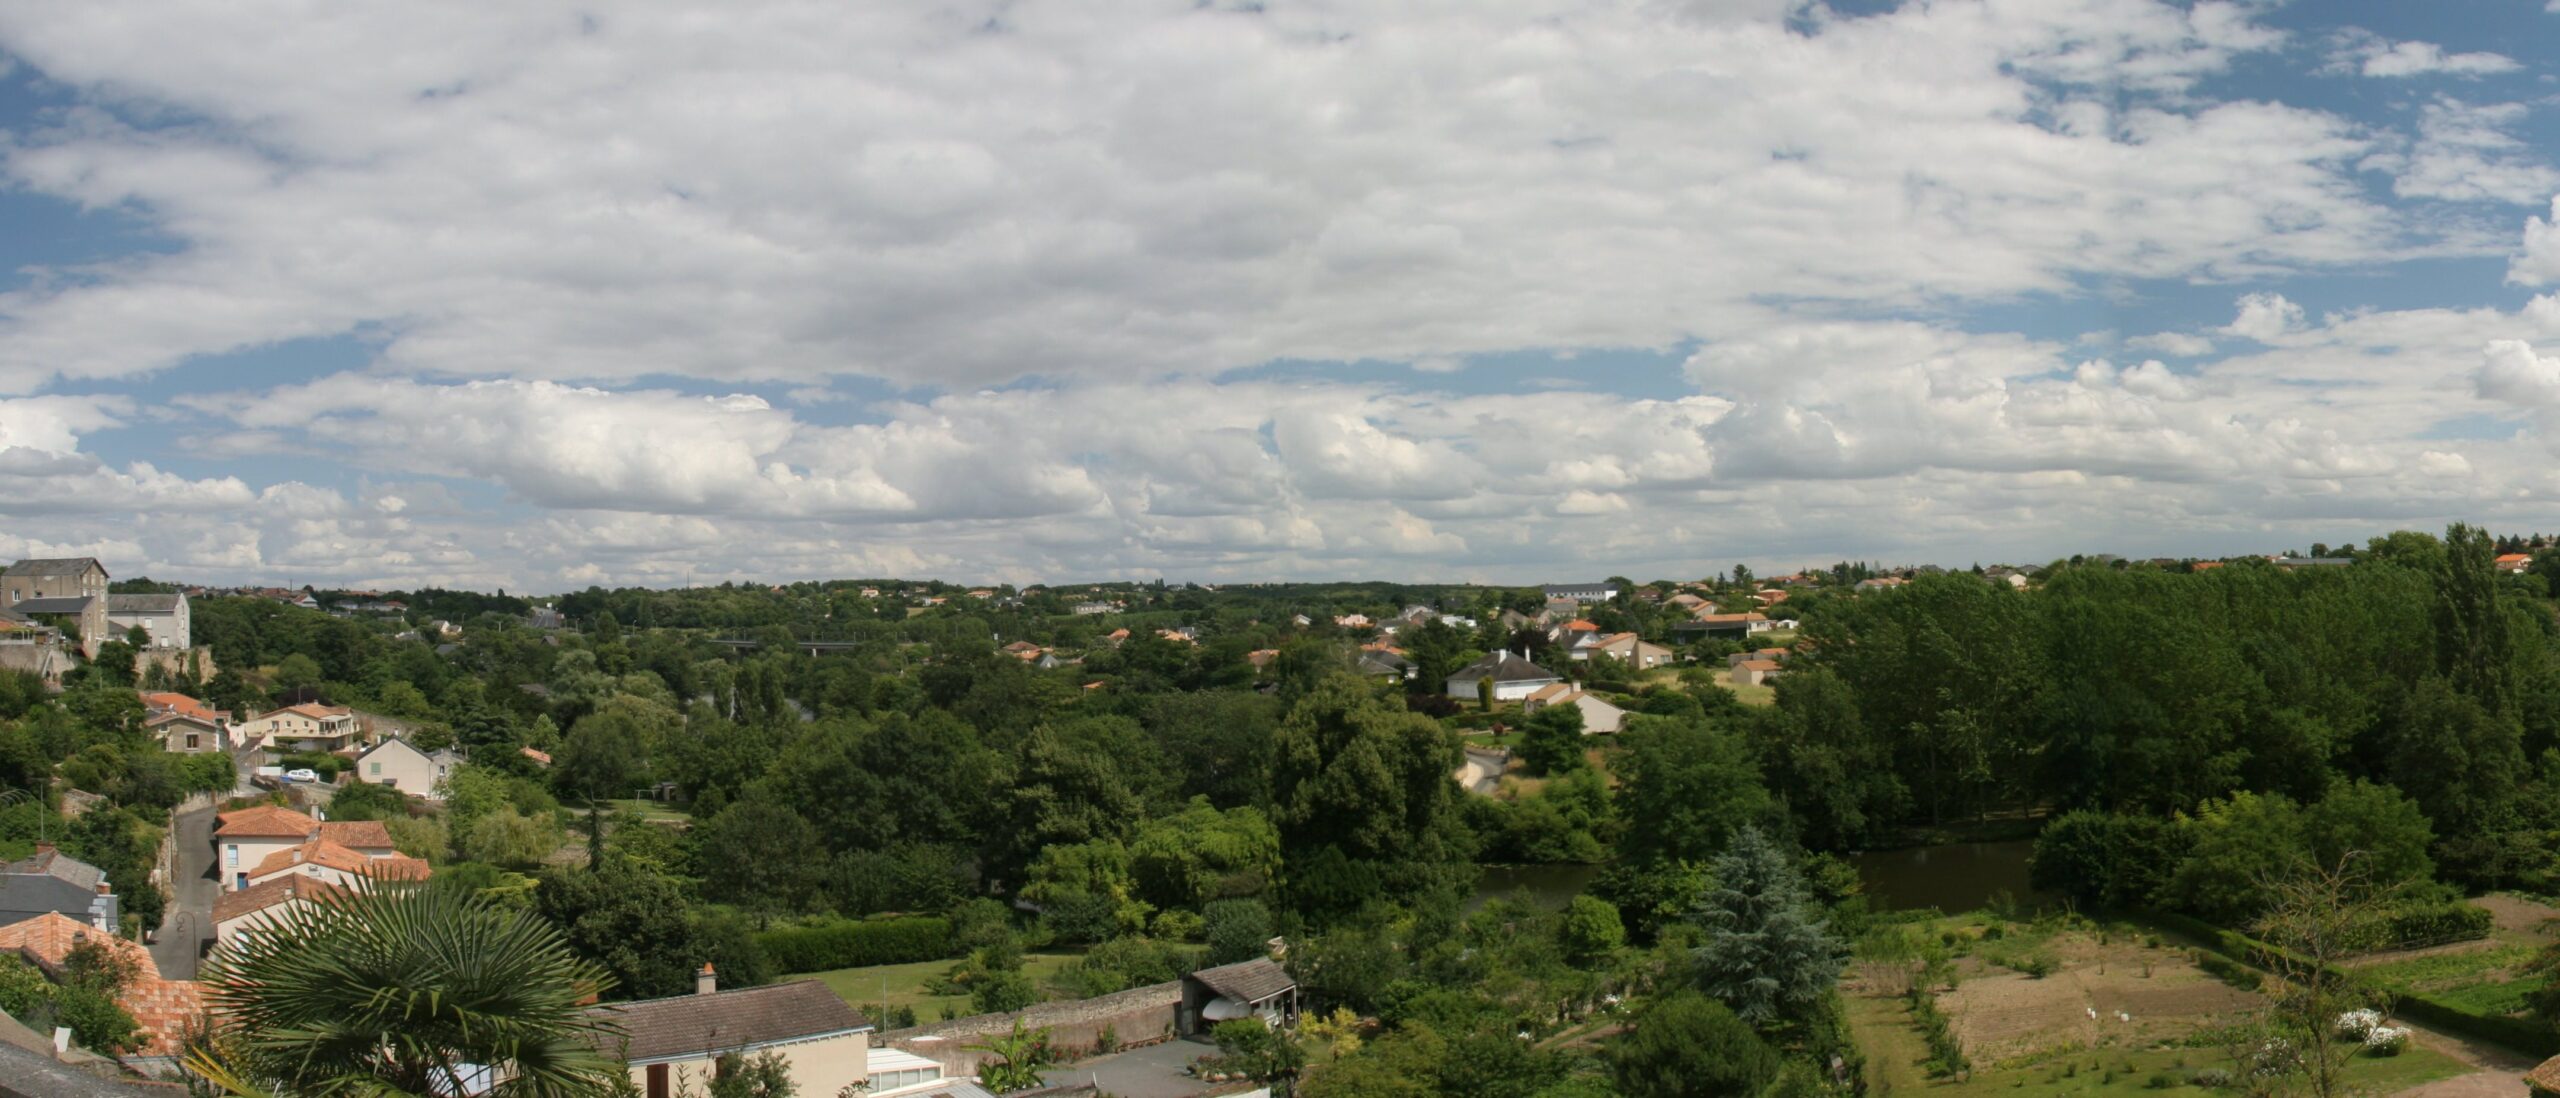
Last year I inherited an old Nikon D300 camera, in terms of current camera technology it’s considered to be ‘vintage’ ! It came out in the late 2000’s. It’s all of 12 MP and I was fortunate to get the manual and a lot of accessories with the camera.

For several years I’ve used Canon cameras, starting with a Canon EOS30 film camera, then the EOS20D 8MP digital SLR. More recently in 2015 I got the small EOS100D, which is the perfect light weight travel camera.

Picking up the Nikon last year, it is quite a hefty thing, in a way something I missed from using my 20D. Those two make the 100D look like a toy camera! It might seem odd, but the weight and balance helps you hold the camera steadily.

I still have the EOS30, the 20D, they were just not getting used so much.

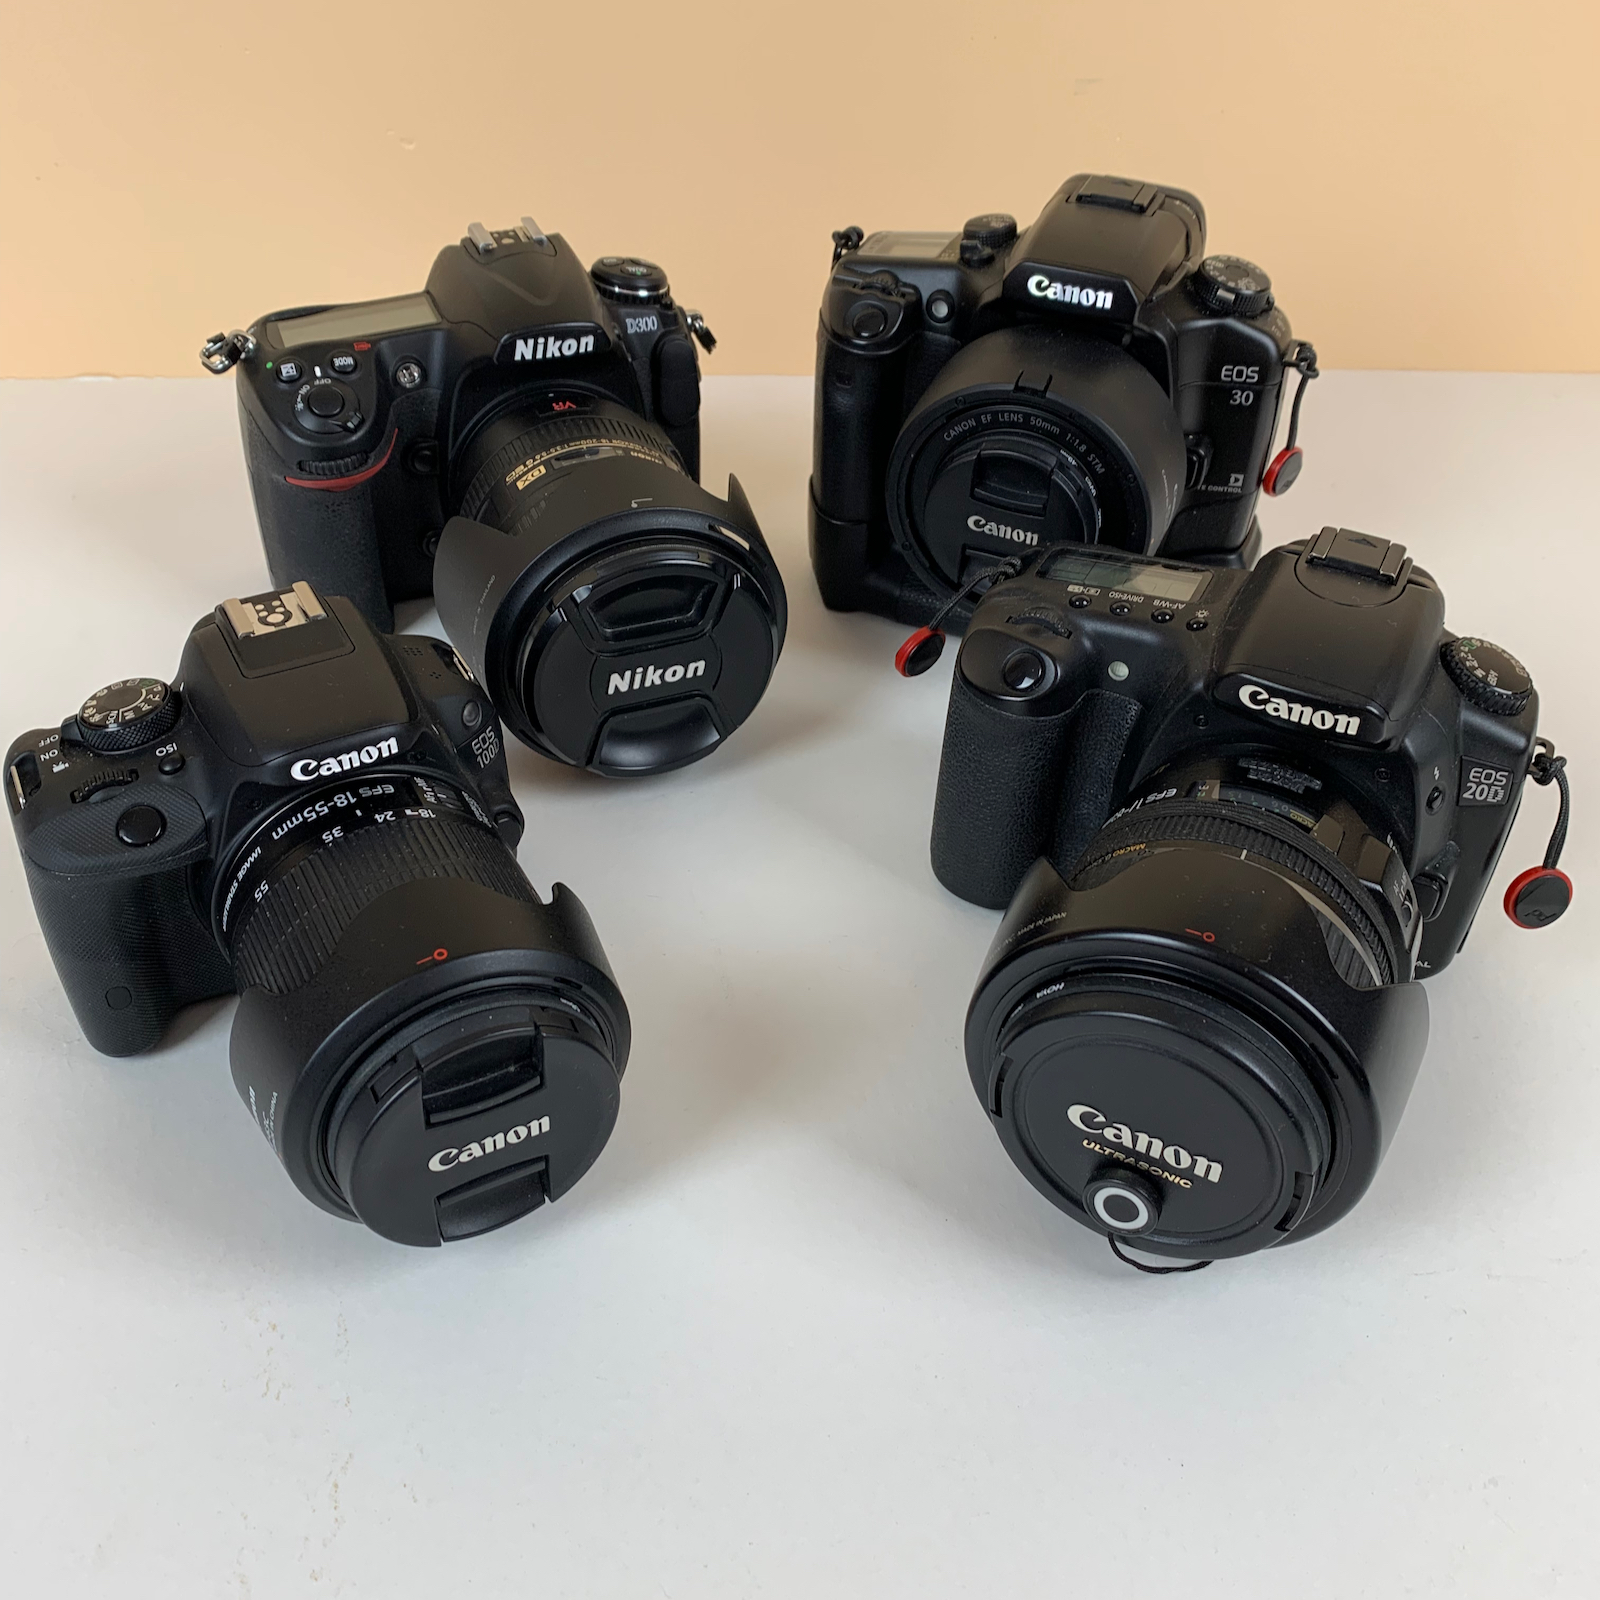
This last year or so I’ve been looking at the new cameras that have come out wondering what I should buy. Prior to getting the Nikon D300, it would most probably have been another Canon, but having used the Nikon for the last year it has somewhat confused the decision.

However, should I even be considering buying another camera? Would I gain anything by having a new camera?

Looking around on YouTube for videos about the Nikon D300 I came across ‘One Month Two Cameras‘ a channel that specialises in using older ‘Vintage’ cameras. The channel got featured on Fstoppers yesterday as well in their article: Are Vintage Digital Cameras the Biggest New Photography Trend?

I find it funny that in the scope of digital cameras, vintage seems to be anything that came out pre-2010. In the world of Filofax vintage tends to be the early 1980’s or before, but that’s a whole new discussion!

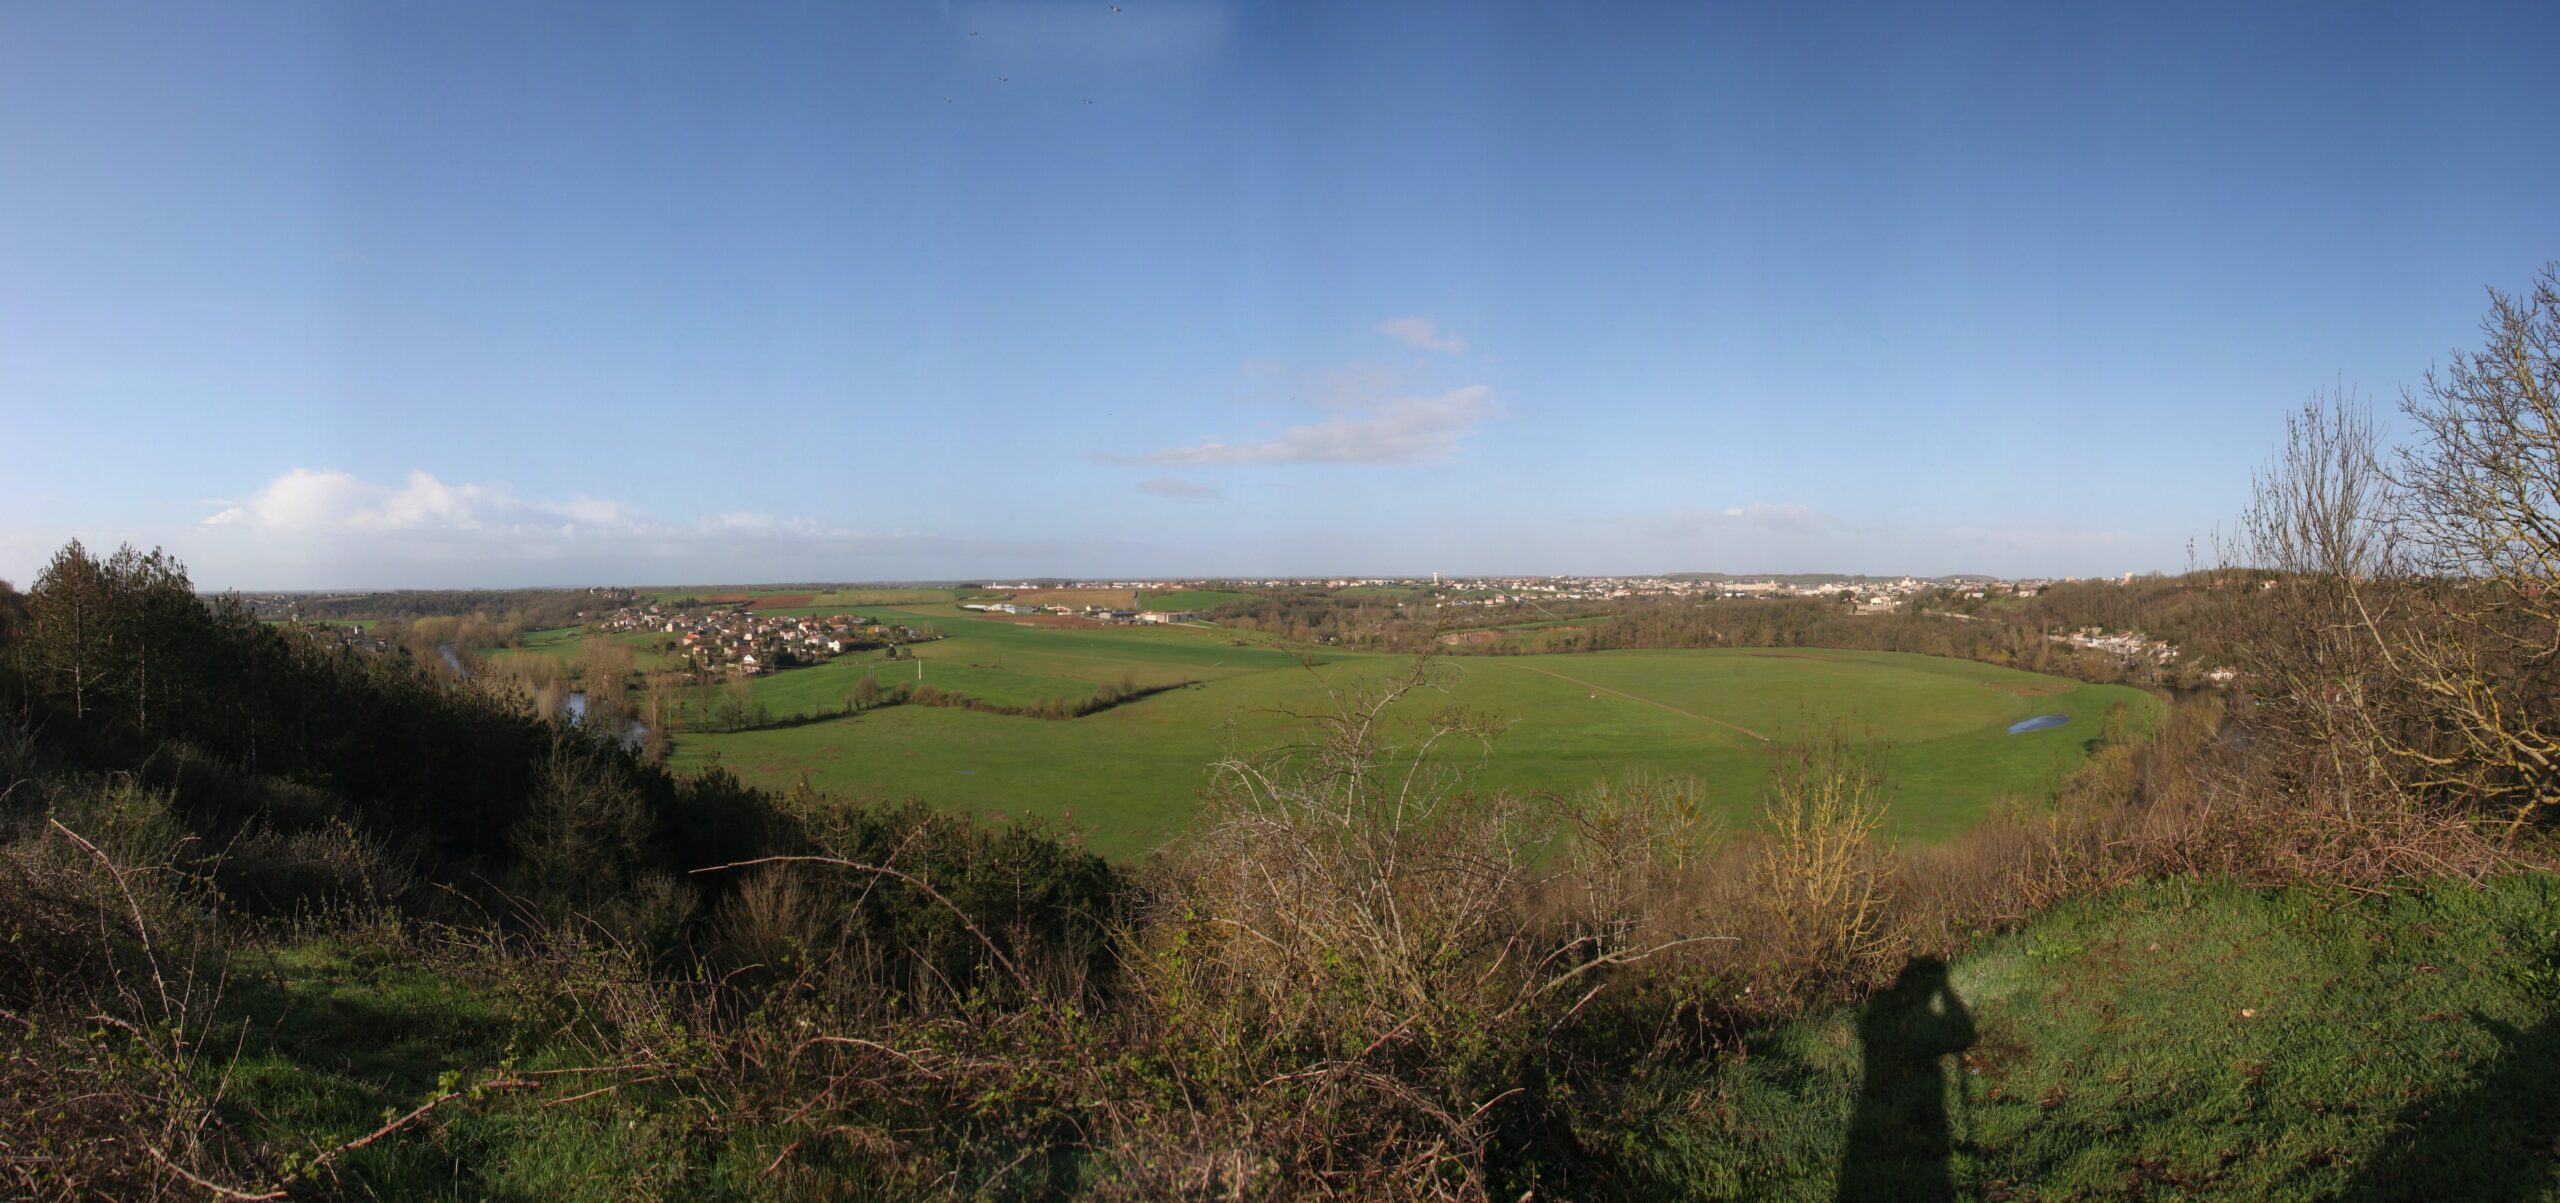
Having watched several of the videos I started to realise that older cameras can still produce very acceptable images. Even my old Canon EOS20D with only 8MP is still very usable if you take a few precautions. Shooting in RAW, and keeping the ISO speed low. Memory card size isn’t so much of an issue these days, so don’t you have to worry about the file size so much. The Nikon D300 can take a 16 or 32 GB CF card, that gives me plenty of capacity for a weeks worth of photography easily.

With care you can extract some very good quality images from these old cameras. As long as you aren’t zooming in too far on the images or cropping them too much you will still have a very good quality image to use or print.

If you consider what we use our images on these days, Facebook and Instagram or any other social media platform they all tend to be fairly low resolution.

  • Facebook – 1,080 x 1,350 pixels
  • Instagram – 1,350 x 1,080 pixels or 1,080 x 1,080 pixels

If you need a higher mega pixel image then there are lots of software options these days that can boost the image resolution using artificial intelligence to fix issues with picture noise etc.

I tend not to edit my images that much though. I might correct the image for any tilt and may be crop out any distractions. But I don’t spend hours in Lightroom… I don’t even have it! I only use the Photos app built in to the MacOS it is good enough for what I need.

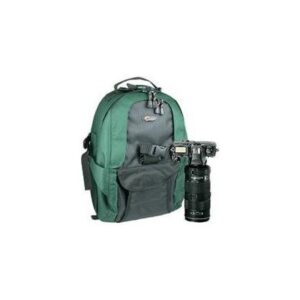
On a similar theme to using old cameras I’m still using a couple of old camera bags too. My Lowepro Orion AW shoulder bag/backpack and an even older Lowepro Mini Treker. The elastic parts have been replaced in recent years, but other than that both bags are still giving great service.

Will I be investing in a new camera any time soon…. at the moment it looks unlikely!

Panoramic Photography

With the advent of digital photography it has opened up a lot more opportunities for me to experiment with techniques which whilst they were not available with film, they tended to be a lot more expensive to do.  Panoramic photography was one of these techniques I’ve previously tried using film, but it was never that successful for me.

With digital photography it is a lot easier to achieve good results, but certainly not fool proof. Some of my earlier attempts where quite good, although I found it difficult to repeat these earlier results successfully every time, so I recently had an opportunity whilst over in France to refine the technique and capture the same scene on several days using different techniques to see the overall results and to learn from the exercise.

I started off playing around using the software supplied with my Canon EOS 20D, called Photostitch. It does a fairly good job of joining your files together. But this software doesn’t work on my Mac, or at least it didn’t work under Snow Leopard. I discovered a later version of the software on the net that now does work.  It’s nice and easy to use. You just assemble the photos in the right order and it then stitches them together. What could be easier….

The photo above I took quite early on and I must have hit lucky in one of my early attempts. Subsequent panoramas just didn’t have the same impact as this one so I went back to the drawing board and tried out various options to discover what I was doing wrong.

I found that in order to get consistent results you need to lock the exposure of the camera, so this means putting your camera in to manual mode. Then I found it is best to pan across your scene and look at the variation in exposure you are getting as you go from one side to the other. You might need to make some adjustments so that the exposure falls slightly either side of what the camera considers the correct exposure. You are however aiming to get the least variation across the whole scene. To achieve this I found after a few attempts it’s best to aim for the sun at its highest point in the day so that your scene is illuminated as evenly as possible. Being cloudy isn’t too much of a problem as long as the cloud isn’t too patchy, otherwise you will have quite large differences as you pan across the scene.

The next important thing you need is to the ability to hold your camera as steady as possible so that your pictures scan across the scene in the same plane. I have done some handheld, but using a tripod or mono pod makes the task that bit easier.

When you are taking your frames for your panorama, I found it important to have a decent overlap from one frame to the next, rather than getting all technical with angles and things I just used the focusing spots in the viewfinder, the outer ones on my camera are at about a quarter and three quarters across the frame. So take a picture note where the three quarters one is in the scene and move the camera so that the quarter spot is roughly pointing at the same point in the scene. This also helps you keep the camera level if you are doing this hand held. Just keep repeating this until you have covered the whole scene.

Most people do panos in landscape mode, the photo below was done with a series of portrait pictures, you get a much more ‘natural’ landscape across the scene that way, but you do have to take more shots.

Try different view points, just moving a few feet to the left or right can make a difference.


As you can see with this image there is also the risk of getting your own shadow in the scene! I could have cropped that out and I did in other versions of this image, but I have left this one as it came out of the software to start with.

Be prepared for some seriously big images, I’ve reduced these ones in size to get them on to the blog in a reasonable time.

The best advice I can give though is to keep trying to shoot different scenes. I’m lucky in that the above scene in the second picture is only about 50 metres from our house so I can quickly walk there take a series of pictures, nip back to the house, download the pictures and go back again if I’m not happy with the result!

Have fun….


Never get rid of anything…

I know we all hang on to things when we get something new. I’m just as guilty as everyone else in this department. But tonight I thought I would try an experiment to see if it would help solve a problem when we travel.

When ever we travel across to France on the boat I never like to leave anything portable and valuable in the car, so I take my camera gear, netbook, iPod, etc in various cases up to the cabin. With the addition of the netbook to my ‘load’ I’ve been carrying an awful lot of stuff up 4-5 decks to the cabin.

My favoured camera bag the Orion AW is full of camera gear and the rucksack part has no dividers or structure to it. So anything hard in that part makes it quite uncomfortable to carry. So I’ve been carrying the netbook in another bag.

Tonight I had a brainwave and got out my previous camera bag a Lowepro Mini Trekker. I had stopped using it a while back because I didn’t find it that comfortable when carrying it for several hours. Also it can carry a lot of camera gear, and thus it can be quite heavy!  But for travelling it might be the ideal solution. The outer pocket on the front takes my netbook with plenty of room to spare at the top of the pocket. Inside I can get all of my camera gear slotted in with no difficulties at all.

So tonight I tried fully packing it as I would to go away to France and it all slots in neatly. The main advantage now is I will have everything in one bag not two or three, sure it’s heavyish, but I will not be carrying it far fully loaded. I can take some gear out once we get to the house.

Oh and before you ask, no I won’t be getting rid of the Lowepro Orion AW, it’s great for photowalks!

What’s in my camera bag

I mentioned my current camera bag in a previous post here,

It is a LowePro Orion AW, a combination of a small rucksack and a belt pack case. The rucksack isn’t intended for carrying your camera equipment, it serves as a day sack for your jacket and maps and lunch. But when joined to the beltpack it forms a very comfortable to use rucksack. Alternatively you can use the beltpack with a shoulder strap and the waist belt again this combination is quite comfortable to use.

At first I thought I would be limited in what equipment I would be able to carry in the new bag. I still have my Mini Trekker, which I use to regularly ‘over load’ with everything, but I haven’t found the smaller size of the Orion that limiting.

LowePro’s page on the Orion AW is here

So what is in the bag… well all of this gear:

  • Canon EOS 20D DSLR + grip
  • Canon EOS 30 SLR + grip
  • 17-85 mm zoom
  • 28-105 mm zoom
  • 75-300 mm zoom
  • 420ex flash gun
  • And various accessories

The clever thing is way of fitting all of that in to a case that looks like this:

The 75-300 mm zoom is in the lower left hand corner, above it is the flash gun. On the right the EOS30 body is slotted in with the grip bulge towards the bottom of the case, the 28-105 mm, is in the top right hand corner, with a the cables above it. In the center section, in the bottom sits the battery grip for the EOS30 with a pad over the top of it. This is then big enough for the EOS20D with it’s 17-85 zoom lens attached and it’s battery grip also attached to sit face down supported by the padded dividors at the top and bottom of this section. The dividors have spare batterys and other accessories stored behind them.

Fully loaded it looks like this, unzip the top of the bag and the EOS20D is instantly available:

Using RAW format on my camera

I know this might come as a shock to some of you… but up until now I’ve hardly ever used RAW format on my camera. Laziness I suppose to discover the hidden joys of what RAW format has to offer.

I saw an excellent tutorial on TWIP Photo that made me look in to this again. Like all of these things unless you use a feature or application you quickly forget how to use it. That to a certain extent was my problem… hence only using JPG for ages!!

Anyway I’ve reset the camera to take RAW + Medium size fine resolution JPG’s and with a 2 Gb card that gives me about 170 photos, enough for most days… Medium size is still higher resolution than I tend to use anyway, or if I need higher I can use RAW anyway…

I’ve also updated my Canon Software that lets me fine tune the RAW format files and get the best out of them.

Everything must go……

Well not quite!

So we have been cracking on with selling things on Ebay.

I’ve managed to sell my Olympus OM30 and all the lens’s and accessories, I got quite a reasonable price for it all in the end. I have also donated my old Praktica gear to a school in Malvern via a contact at work. So I’m down to just my EOS30 and EOS20D now, but still two camera bags… my earlier LowePro Mini Treker is on loan to my next door neighbour for him to use on a long trip to Oz in November for his camera and video camera.

I’ve also got rid of some old computer stuff that has been gathering dust in cupboards and the like.

One new thing I have recently bought though is a 2.5″ Hard Disk Enclosure which has a built in card reader, I added a salvaged 40GB HD to it and it’s a useful back up for my pics when out and about and as an external USB2 drive when at home.

The case came from Storage Depot [link] and the case is this one: [link] You can’t view your pictures on the built in screen, but that’s the only disadvantage I’ve found so far. It charges via the USB lead, although it also came with a plug in charger as well.

Photography Update

I’ve recently bought a new camera bag a Lowepro Orion AW beltpack/backpack which I’ve found works very well. It’s in place of my Lowepro Minitrekker, which is a great bag, but I tended to put too many things in it and overloaded my back!!

This evening I was sorting through my things and wondered… what would it be like to go back to using film again… has any one tried? I have two very good film cameras an OM30 and an EOS30.

The OM30 is both small and light for an SLR, I bought it second hand over 20 years ago now, I don’t think I’ve put a film through it in over 5 or 6 years. The EOS30 is a lot newer of course and I used it up until I got my 20D, but likewise it’s remained unused since going digital…

So I might sent myself a challenge by putting a film through one of my old cameras and see how things turn out… have I lost the touch!

The other thing that I noticed that, with a fixed lens on the OM30 how bright the viewfinder image is!! With a lot of us using zoom lens these days with their restricted apertures, we forget what it is like to use a fixed focal length lens.